Lab 3: Building a Card Gallery
General Description
In the previous lab, you created a single collectible card.
Today, you will upgrade your project into a Card Gallery.
You will learn how to manage multiple items using Arrays and Objects, and
use the Vuetify Grid system to automatically organize your cards into rows and columns.
Learning Objectives
- Organize multiple data entries using a JavaScript Array of Objects.
- Use Vuetify
v-forloop to dynamically generate a list of cards. - Implement a responsive layout using Vuetify's Grid System.
Table of Contents
- Expanding Your Data Collection
- Organizing Data with an Array of Objects
- Generating Cards with the v-for Loop
- Styling and Layout for the Card Gallery
- Adding a Global App Bar
- Optional Challenge: Change the App Bar Color and Add a Footer
- Publishing Your Gallery With GitHub Pages
- Wrap Up & Sharing Your Work
Expanding Your Data Collection
In Lab 1, you created a single card. Now, we are going to build a full gallery where you will need a larger set of data to loop through.
- Identify another 6-8 items (characters, athletes, plants, etc.) that fit your chosen
theme from lab 1.
- To make your cards look consistent, every item in your collection must have the same fields (e.g., name, birthplace, bio, etc).
- Download an image for each new item. For the best-looking gallery:
- Try to find images that are the same shape (all horizontal or all vertical).
- For better organization, save all your images into a dedicated folder named images. Create this folder in the same place where your index.html and app.js files are located.
Organizing Data with an Array of Objects
An Array is like a
container that holds a list of items. Array uses square brackets [ ] to hold the items.
An Object is a
variable that can hold many variables. Objects use
curly braces {} to group the variables (e.g., name, bio, and image).
In this step, you will create a single array that holds multiple objects, with each object containing your variables.
- Open your
app.jsfile from Lab 1. - Wrap the variables from your first card inside an object:
- Place the variables inside curly brackets
{ } - Remove the
constkeywords - Change the asignment operator of each variable from
=to: - Separate the variables with commas so the computer knows where one ends and the next begins
{
name: "Robin Buckley",
info: "March 10, 1968 | Hawkins",
bio: "A clever and multilingual employee at Scoops Ahoy...",
image: "images/robin.jpg"
}
💡 Inside curly braces, we use a colon : to connect a label to its data. A colon is similar to the equal sign used in the past lab. Both assign values to a label/container (see https://www.w3schools.com/js/js_assignment.asp)
- Place the variables inside curly brackets
-
Repeat the process with the rest of your items, using the same variable names (e.g., name, info, bio,
image)
for each object:
{ name: "Robin Buckley", info: "March 10, 1968 | Hawkins", bio: "A clever and multilingual employee at Scoops Ahoy...", image: "images/robin.jpg" } { name: "Steve Harrington", info: "1966 | Hawkins", bio: "Former high school king turned babysitter extraordinaire...", image: "images/steve.jpg" } { name: "Dustin Henderson", info: "1971 | Hawkins", bio: "The brains of the operation with a love for science...", image: "images/dustin.jpg" } - Wrap the objects inside an array:
- Place the objects inside square brackets
[ ] - Separate the objects with commas so the computer knows where one ends and the next begins
- Give the array a name using the
constkeyword
const collection = [ { name: "Robin Buckley", info: "March 10, 1968 | Hawkins", bio: "A clever and multilingual employee at Scoops Ahoy...", image: "images/robin.jpg" }, // <--- Don't forget the comma! { name: "Steve Harrington", info: "1966 | Hawkins", bio: "Former high school king turned babysitter extraordinaire...", image: "images/steve.jpg" }, { name: "Dustin Henderson", info: "1971 | Hawkins", bio: "The brains of the operation with a love for science...", image: "images/dustin.jpg" } ] - Place the objects inside square brackets
- Finally, add the name of your array to the
returnsection at the bottom of your app.js. This will ensure your array is accessible from the index.html file in the next step.return { collection }
Generating Cards with the v-for Loop
In Lab 1, you had to code each Vuetify card individually. With v-for, you only write the card
(or any component)
once, and it gets repeated for every item in your array.
- Open your
index.htmlfrom lab 1. - Inside your
<v-card>, add thev-forcommand with the value "item in collection".💡 Tip: If you are using a different name in your array in step 2 above, use that name instead of "collection". For example if your array name is "characters", then type "item in characters"<v-card v-for="item in collection" width="400" class="mx-auto bg-red elevation-12" > - Add an identifier to each of the cards using the
keycommand with a value such as "item.name".- The keyword
itemfollowed by a dot.provides access to thenamevariable from the object in turn. - Add a colon
:to thekeycommand to reach/read the data from thenamevariable in your object.
<v-card v-for="item in collection" :key="item.name" width="400" class="mx-auto bg-red elevation-12" > - The keyword
- Add the
item.keyword before each of your variables in the card. This allows reading the variable inside the object in turn.<v-card-title> {{ item.name }} </v-card-title> <v-card-subtitle> {{ item.birthplace }} </v-card-subtitle> <v-card-text> {{ item.bio }} </v-card-text> <v-img :src="item.image" height="200" cover></v-img>
What is the dot
.doing?The dot is called a property accessor. It provides access to an object's properties/variables.
The syntax is:
objectName.propertyNameCheck full explanation here:
https://developer.mozilla.org/en-US/docs/Web/JavaScript/Reference/Operators/Property_accessors
- To see your work, save your changes and open a new tab in your browser (Chrome recommended). Then, press
Ctrl + O (Windows) or Cmd + O (Mac) and select your index.html file.
- Alternatively, you can open the folder where you saved your work and simply drag the index.html file directly into your browser window.
Styling and Layout for the Card Gallery
Aligning Your Card horizontally
Vuetify uses a 12-column grid system. It uses v-row which is a container for columns, and v-col which defines how much space an element takes.
- Wrap your
<v-card>inside a<v-container>, a<v-row>, and<v-col>. - Move the
v-forand the:keyfrom the<v-card>to the<v-col>. This will make Vuetify to create a new column for every card. - Inside
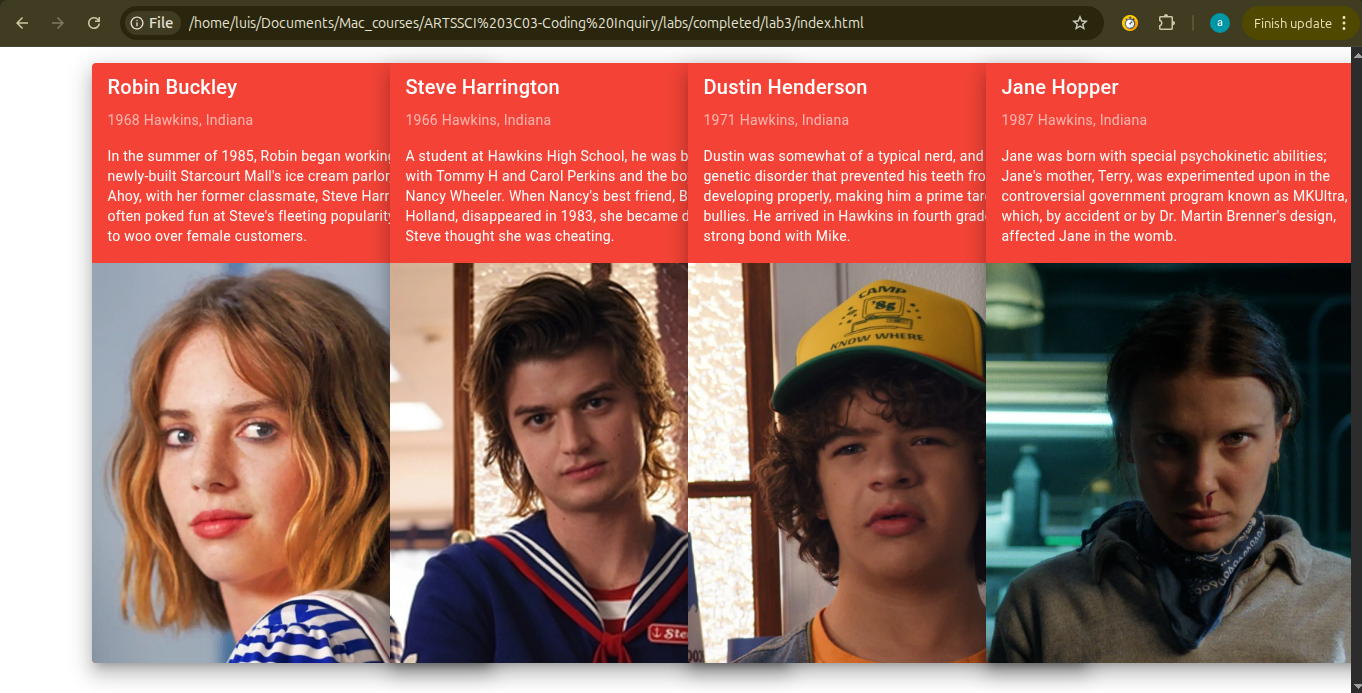
<v-col>add the commandcolsand the value"3". This will divide the grid into 4 colums (12/3 = 4), placing one card per column. - Finally, see save your changes and refresh the browser to see your cards horizontally aligned.
<v-container>
  <v-row>
    <v-col>

      <v-card v-for="item in collection" :key="item.name" width="400" class="mx-auto bg-red elevation-12"  >
        <v-card-title>{{ item.name }}</v-card-title>
        <v-card-subtitle>{{item.birthday}} {{ item.birthplace }}</v-card-subtitle>
        <v-card-text>{{ item.bio }}</v-card-text>
        <v-img :src="item.image"> </v-img>
      </v-card>

    </v-col>
  </v-row>
</v-container>
<v-container>
  <v-row>
    <v-col v-for="item in collection" :key="item.name" >

      <v-card width="400" class="mx-auto bg-red elevation-12"  >
      <v-card-title>{{ item.name }}</v-card-title>
        <v-card-subtitle>{{item.birthday}} {{ item.birthplace }}</v-card-subtitle>
        <v-card-text>{{ item.bio }}</v-card-text>
        <v-img :src="item.image"> </v-img>
      </v-card>

    </v-col>
  </v-row>
</v-container>
<v-col cols="3" v-for="item in collection" :key="item.name" >
Styling the Cards
- Remove Fixed Width: Delete the
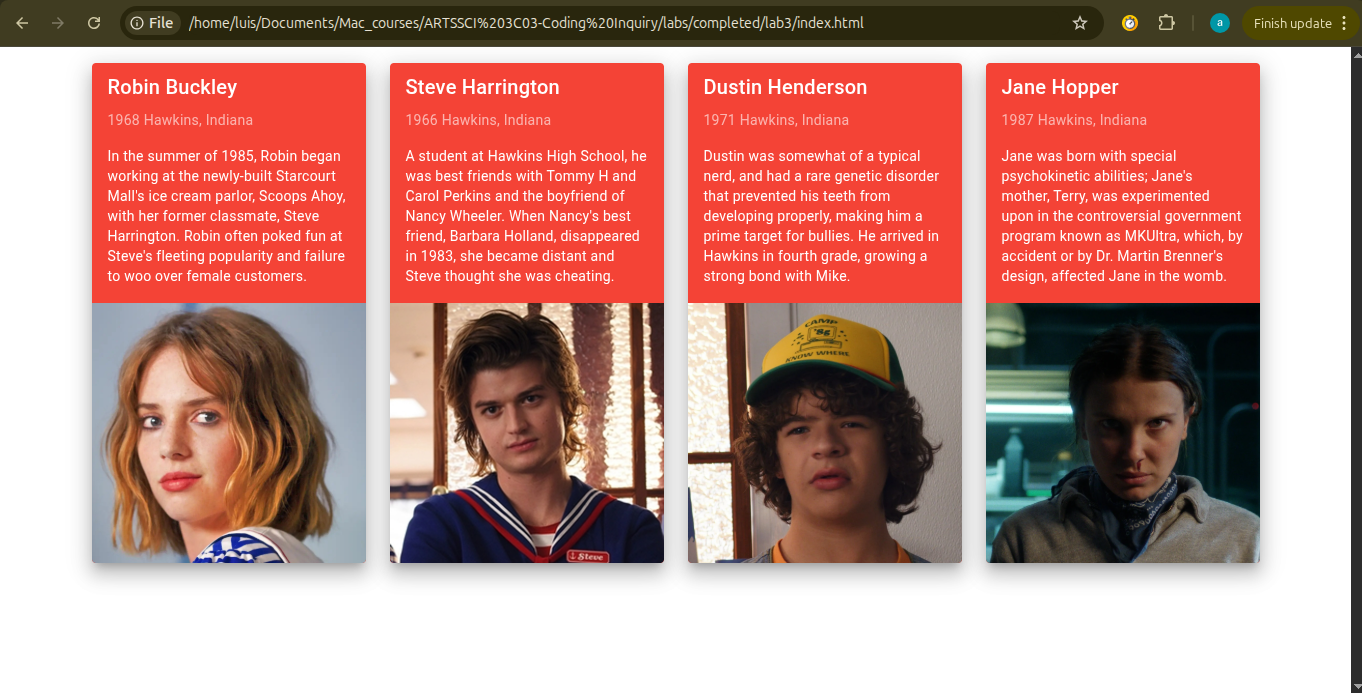
widthand themx-autofrom your<v-card>.💡 Explanation: In a grid, the column (v-col) should decide how wide the card is. If you keep a fixed width (e.g., "400"), the card will overflow of its column on smaller screens or look off-center. By removing it, the card will automatically fill the column perfectly.<v-card class="bg-red elevation-12"> - Standardize the Height:Add height="500" to your
<v-card>.💡 Explanation: Because some characters have short bios and others have long ones, your cards will naturally be different lengths. This creates an uneven look where the rows don't line up. Setting a fixed height forces every card to be identical, creating a clean, professional gallery.<v-card height="500" class="bg-red elevation-12"> - Save you changes and refresh the page to see the results.
Adding A Global App Bar
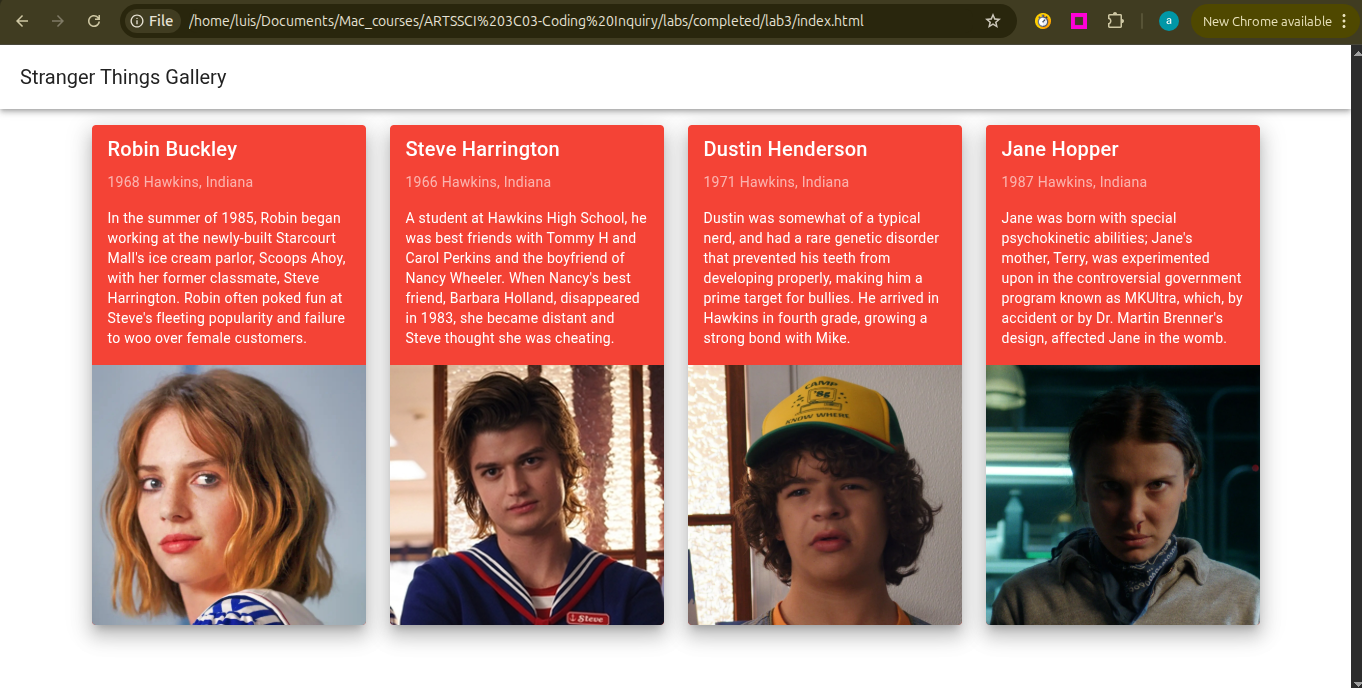
An app bar is a dedicated container, located at the top of an app screen, that
provides branding, screen titles, navigation, and access to key actions. In this step, we will use
Vuetify's <v-app> and <v-app-bar-title>.
-
Below
<v-app>, add<v-app-bar>.<v-app-bar> </v-app-bar> -
Inside
<v-app-bar>, add<v-app-bar-title>and type a title inside.<v-app-bar> <v-app-bar-title> Stranger Things Gallery </v-app-bar-title> </v-app-bar>
Optional Challenge: Change the App Bar Color and Add a Footer
Change the App Bar Color
Ready to go the extra mile? Check the following activities to continue practicing.
-
Change the App Bar Background Color: Explore Vuetify documentation to learn how to change
the background color
https://vuetifyjs.com/en/styles/colors/#classes -
Change the App Bar Text Color: Explore Vuetify documentation to learn how to change the
text color
https://vuetifyjs.com/en/styles/colors/#classes
Create a Footer
Now that you have one card working, try adding a footer at the bootom of the app to display your name and the current date. This will test your ability to code Vuetify components on your own.
-
Explore Vuetify documentation to learn how to add a footer
https://vuetifyjs.com/en/components/footers/ - Inside the footer type your name and the date.
Publishing Your Gallery With GitHub Pages
Now that your gallery is complete, let's put it on the internet for everyone to see!
To publish your page you will use GitHub Pages, which is a site hosting service designed to host pages
directly from a GitHub repository. It is a simple, free way to publish websites online.
- Go to https://github.com/.
- Create an account using your McMaster email.
- Follow the interactive tutorial below to learn how to setup a GitHub repository and upload and publish your app.
Here's an interactive tutorial

Wrap Up & Sharing Your Work
You have reached the end of this lab!
Today's Achievements:
- Organizing Data: You structured complex information using an Array of Objects, allowing each card item to have their own unique properties like name, bio, and image.
- Smart Looping: You used the
v-fordirective to automatically generate a card for every item in your array, keeping your code clean and efficient. - Dynamic Layouts: You explored the Vuetify Grid and used
ga-classes to control spacing between your columns. - Web Publishing: You successfully launched your app live via GitHub Pages for the world to see!